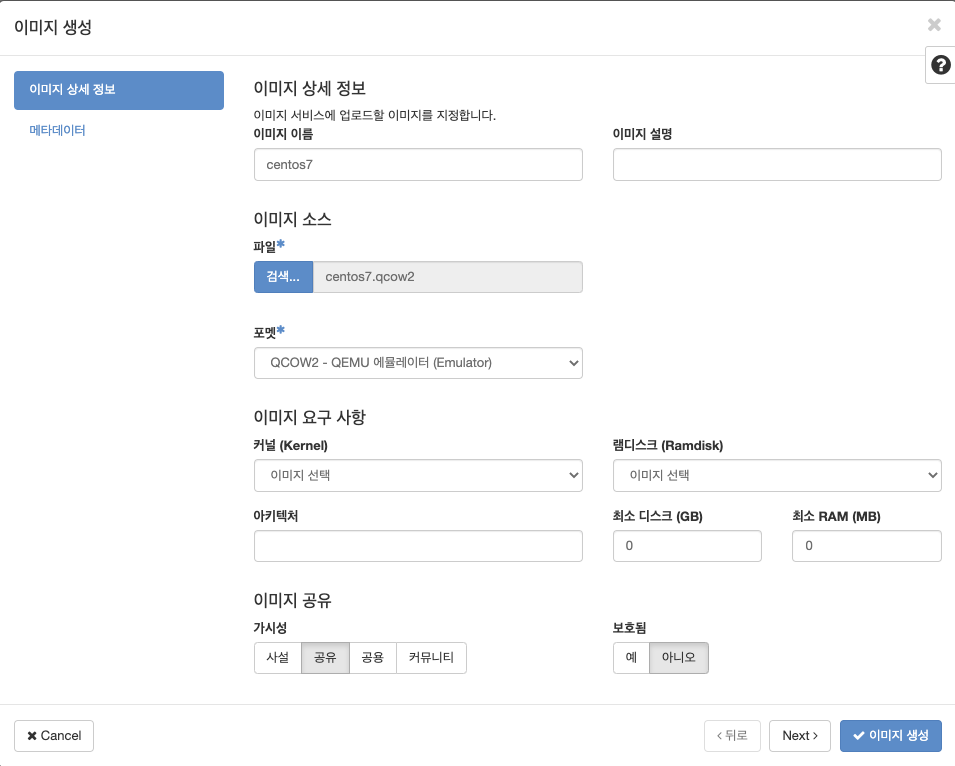
CentOS7 minimal ISO 파일을 이용하여, 클라우드용 이미지 생성하기
|
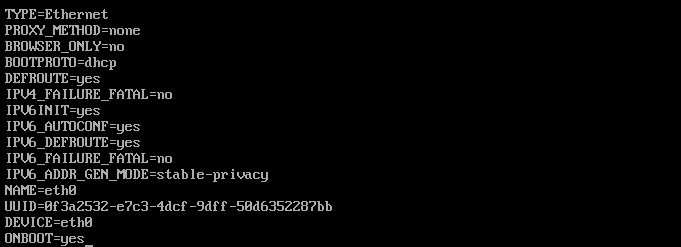
< ISO 파일로 클라우드용 이미지 만들기 요약 > 1. QEMU + KVM 에뮬레이터를 실행할 수 있는 환경에서 QEMU + KVM을 이용해 가상머신(qcow2타입의 디스크 이미지를 가진)을 생성 2. 가상머신에 운영체제 설치 3. 부팅시 DHCP로 네트워크 설정이 되도록 설정 4. acpid, cloud-init, cloud-utils-growpart 5. 추가적인 설정하기 (zeroconf 설정, 부팅 환경설정) 6. 확인 (오픈스택에서 이미지 등록하고 가상머신 생성, QEMU + KVM로 수동으로 가상머신 생성) |
실습 환경(이미지 생성) 준비
dnf module install virt
dnf install virt-manager virt-install virt-viewer libguestfs-tools qemu-img
CentOS7 ISO 파일 다운로드.
wget https://mirror.umd.edu/centos/7/isos/x86_64/CentOS-7-x86_64-Minimal-2009.iso
(0) qcow2 이미지(디스크) 파일 생성
qemu-img create -f qcow2 [이미지 파일 위치] [이미지 파일 크기]
qemu-img create -f qcow2 /virt/centos7.qcow2 20G
(1) 가상 네트워크 생성
virsh net-start default
virsh net-list
(2) 가상 머신 생성
virt-install --name centos7 --ram 1024 \
                    [생성할 가상머신 이름] [생성할 가상머신 메모리]
--disk /virt/centos7.qcow2,format=qcow2 \
         [가상머신 하드디스크의 경로]
--network network=default \
           [가상머신이 쓸 네트워크]
--graphics vnc,listen=0.0.0.0 --noautoconsole \
           [vnc설정. 가상머신 화면 받아오는..]
--os-type=linux --os-variant=centos7.0 \
            [운영체제 타입과 종류]
** 생성 가능한 가상머신 목록 확인은 'osinfo-query os'로 확인.
--location=/virt/CentOS-7-x86_64-Minimal-2009.iso
             [운영체제 설치 ISO 이미지 경로]
virt-install --name centos7 --ram 1024 \
  --disk /virt/centos7.qcow2,format=qcow2 \
  --network network=default \
  --graphics vnc,listen=0.0.0.0 --noautoconsole \
  --os-type=linux --os-variant=centos7.0 \
  --location=/virt/CentOS-7-x86_64-Minimal-2009.iso
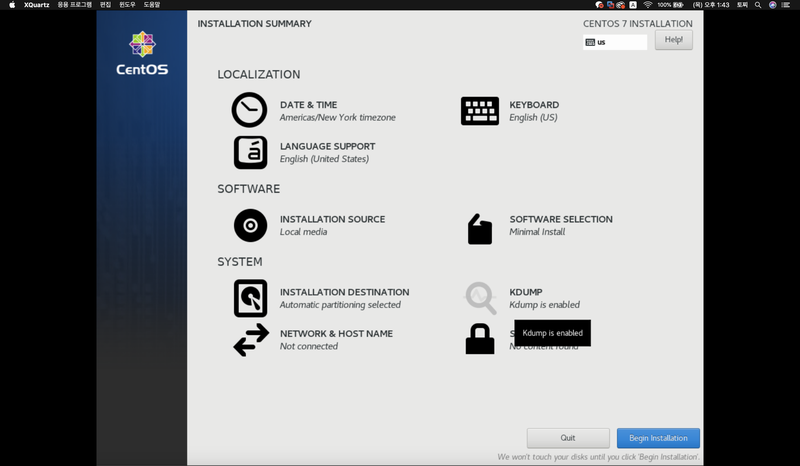
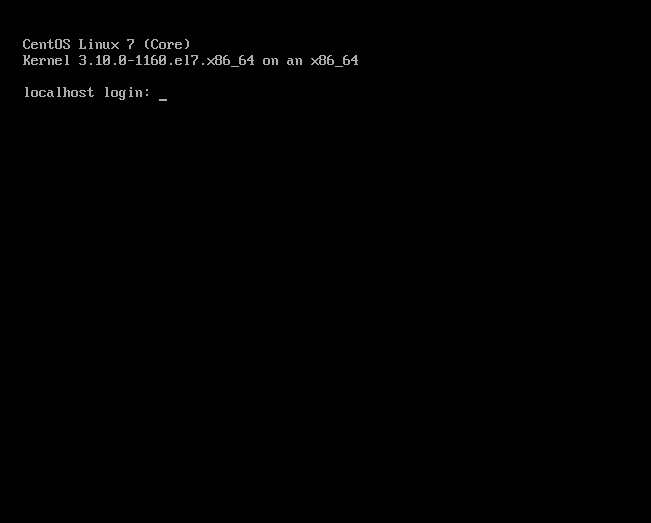
(3) 운영체제 설치 진행
(4) 클라우드용 이미지로 만들기 작업
dhclient

yum install acpid
systemctl enable acpid
yum install cloud-init
yum install cloud-utils-growpart
echo "NOZEROCONF=yes" >> /etc/sysconfig/network
vi /etc/default/grub
grub2-mkconfig -o /boot/grub2/grub.cfg
virt-sysprep -d [가상머신이름]